 Loading... Please wait...
Categories
Our Newsletter
Current Top Sellers
-
1
-
2
-
3
-
4
-
5
- Home
- Assembly & Care
- Dog Den 2 Assembly Instructions
Dog Den 2 Assembly Instructions
CLICK IMAGE FOR PRINTABLE DOG DEN 2 ASSEMBLY INSTRUCTIONS WITHOUT FIGURE GRAPHICS »
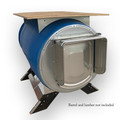
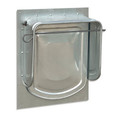
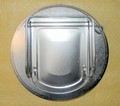
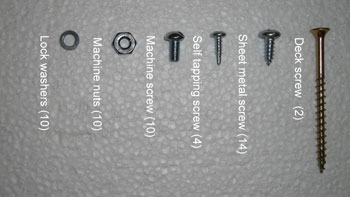
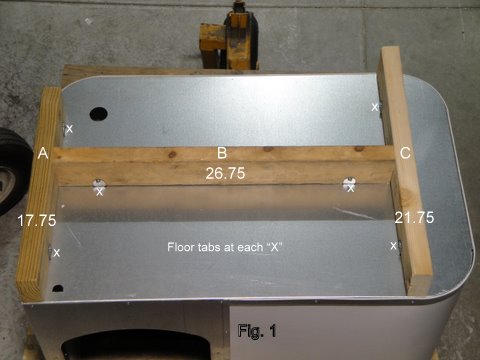
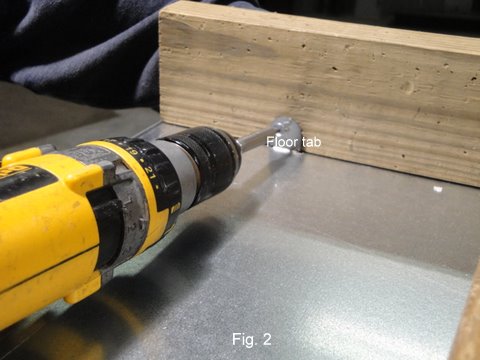
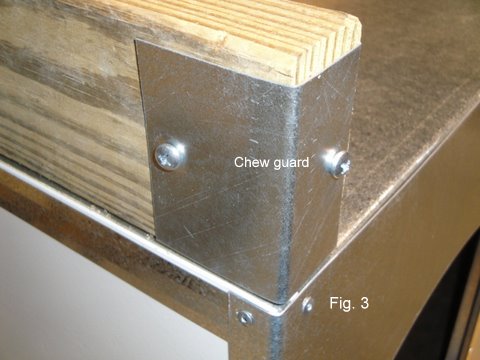
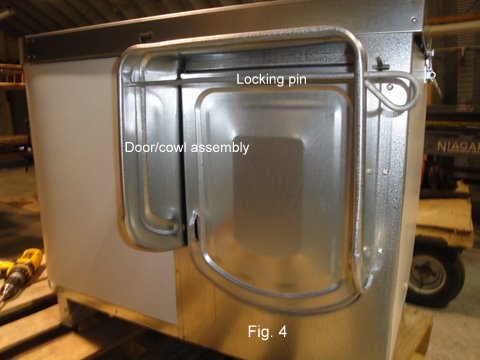
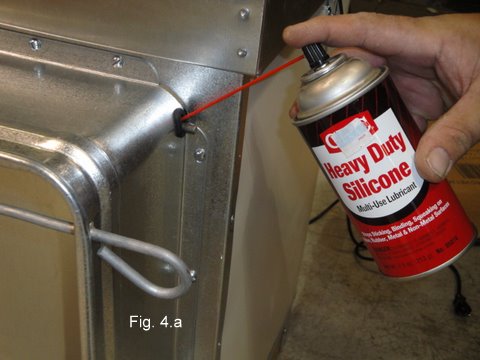
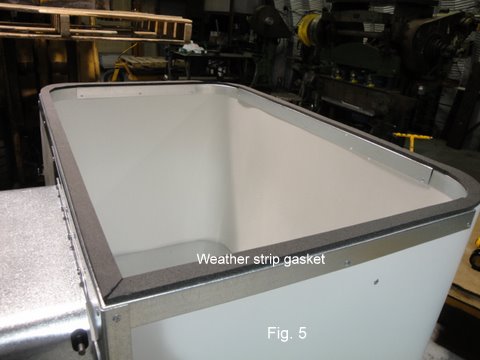
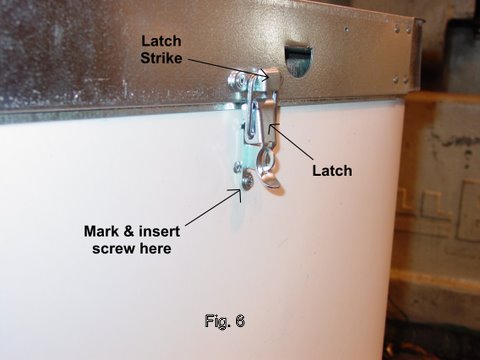
K-9 Kondo’s Dog Den 2 Doghouse Kit Assembly Instructions1. Construct a support frame from pressure-treated 2" x 4" lumber as shown in Fig. 1. (C = 21.75"; B = 26.75"; A = 17.75" part A is on the door side) Part B can be a 2 x 2 to allow washing under the Dog Den 2. Use a screwdriver to lift the five (some Dog Den models have six) metal floor tabs to form a right angle with the floor. Fig. 2 Attach Parts A and C to the floor by inserting one of the 14 sheet metal screws through each tab into the wood as shown in Fig. 1. Insert one deck screw through Parts C and A into Part B. Attach the chew guards to the ends of the 2" x 4" lumber using two sheet metal screws on each chew guard as shown in Fig. 3. Do not over tighten. 2. Attach the dog door/cowl assembly to the front side of the door plate (Fig. 4) with ten #10 x 32" x 3/8" machine bolts, lock washers, and nuts. Do not fully tighten the bolts. Keep the locking pin in the top position as shown to prevent the door from sticking open. Ensure that the dog door flap swings freely without striking the front plate. If the door makes contact with one side adjust by raising the other side of the cowl/rain shield. Fully tighten the fasteners when the door swings freely. IMPORTANT! Keep the locking pin in the top two holes of the rain shield when not used to lock the door open or closed. The pin in the top position will prevent the door from becoming stuck open. If the door sticks open with the pin inserted the two sides of the rain shield are adjusted to close to the door opening. Loosen the three bolts on each side of the cowl and spread the sides apart. Fully tighten all fasteners. See Fig. 4. APPLY SOME SILCONE LUBRICANT BETWEEN THE HINGE PIN AND RUBBER BUSHING MONTHLY (Fig. 4a). REPEAT THIS STEP MORE OFTEN IF THE DOOR RECEIVES HEAVY USE. 3. Follow the instructions on the package to install the weather strip gasket as shown in Fig. 5. 4. Place the removable lid on the Dog Den outdoor doghouse. Allow the latch to hang from the latch strike that is attached to the left and right sides of the lid. Mark the location of the bottom hole of the latch on the wall with an ink pen or pencil. Attach the latch to the wall by inserting one of four self-tapping screws in the bottom hole at the spot marked. Insert one self-tapping screw into the top hole. Fig. 6. Additional Doghouse Kit InformationUse high-quality grass hay for dog bedding (prairie, marsh, timothy, or brome grass hay). DO NOT USE PILLOWS OR BLANKETS AS THEY CAN JAM THE DOOR CLOSED. Grass hay makes a better nest and does not crush as easily as straw and provides better insulation under your dog. Wood chips, straw, clover, and alfalfa are poor dog bedding alternatives. Change dog bedding often. The rubber pet door bushings are a consumable part, much like tires on an automobile that is not covered under the manufacturer warranty. Replacement bushings sell in lots of 10 for $8.00. U.S. Postal Service is used for shipment. Delivery when using USPS is not guaranteed. For orders placed by mail, send check or money order for the amount to: K-9 Kondo Inc.
|
|

